Custom standing desk
Background/Motivation
For a while I've been wanting a standing desk, but have always been disappointed by the prices of fully assembled desks, as well as their materials. Ideally, I'd want a hardwood tabletop, for sturdiness and aesthetics. Lastly, I think a white frame looks nice too.
I had a look around and found that, A: the colour combination of white legs with a darker hardwood top doesn't exist. And B: the most similar one I could find was very expensive and not great quality, like this loctek desk.
A frame on its own can be quite cheap, I found one for $200, but didn't like the colour and would have had to spray paint it. I decided on a more expensive one for $300 that already came in white. The wood panel itself is very cheap, at only $50 from bunnings. Again, I went for a more expensive one, to cut it and use the left over section as a coffee table.
Lessons learned
- The underside of the panel that you saw, especially with a handsaw, will have splits and tears in it. Point the preferred face upwards.
- Start with a low grit sandpaper, like 40. I started with 80 and the wood came pre-oiled, which gummed up the sandpaper very quickly and was very difficult to sand off.
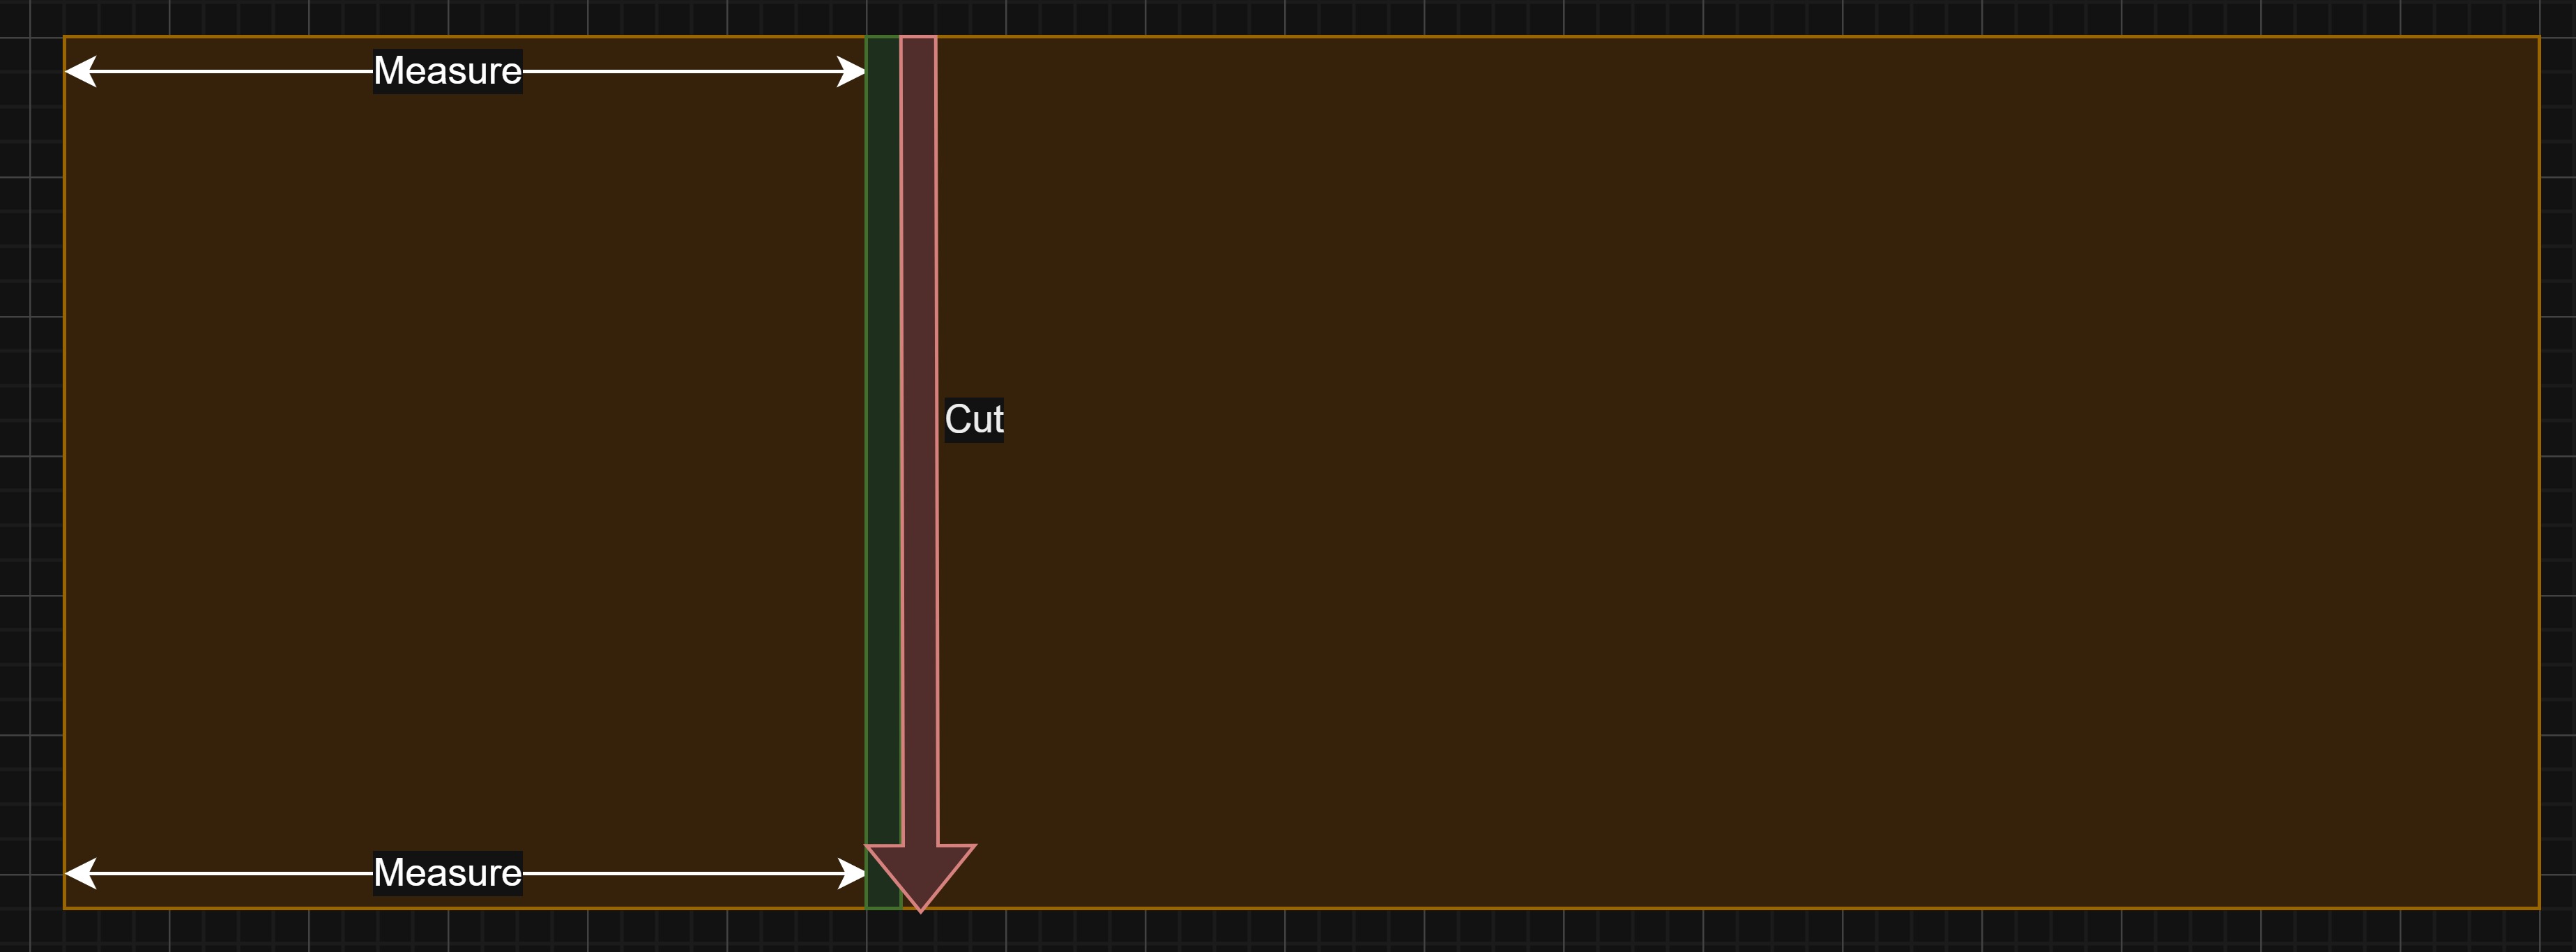
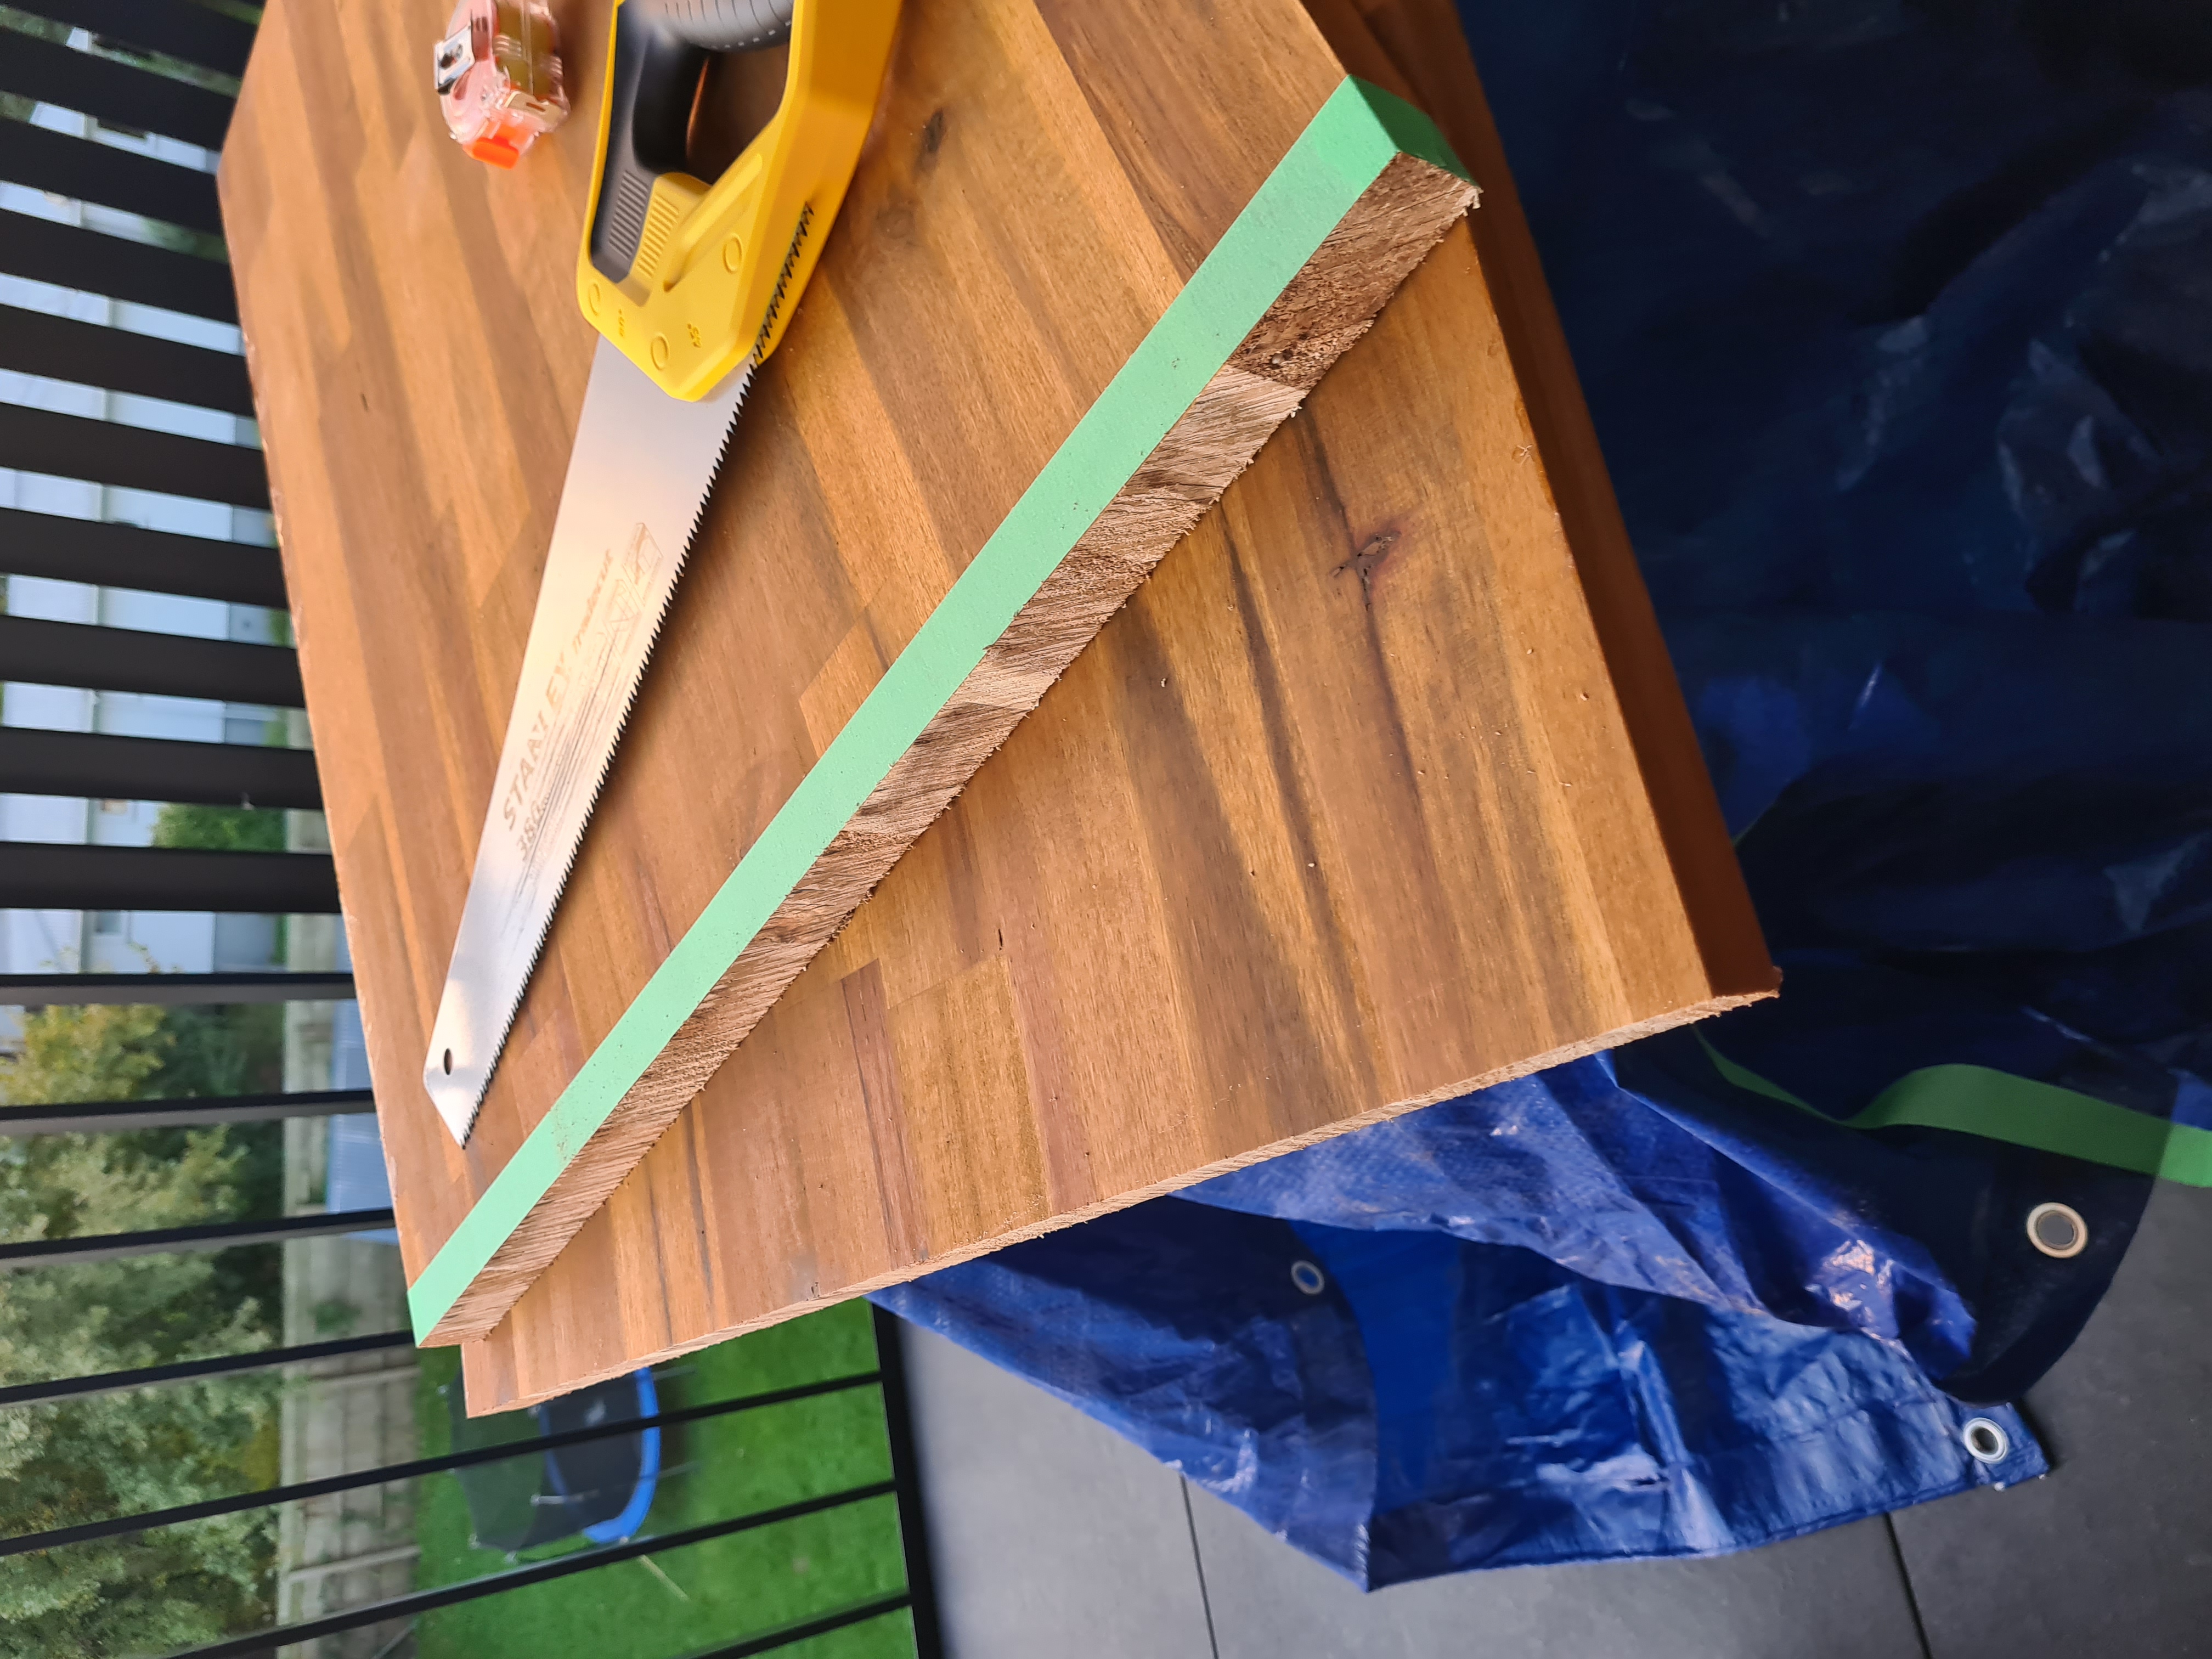
- Masking tape is fantastic as a reference for sawing. Measuring at two points, then joining these points with a strip of tape is a simple way of guaranteeing a nice straight line.
- Use turps to wipe in between sanding to both relieve the tediousness of sanding, but also to see what you are doing much better.
- Don't rush detail sanding after cutting something, you can easily scratch a nice surface and need to then do much more work to redo it.
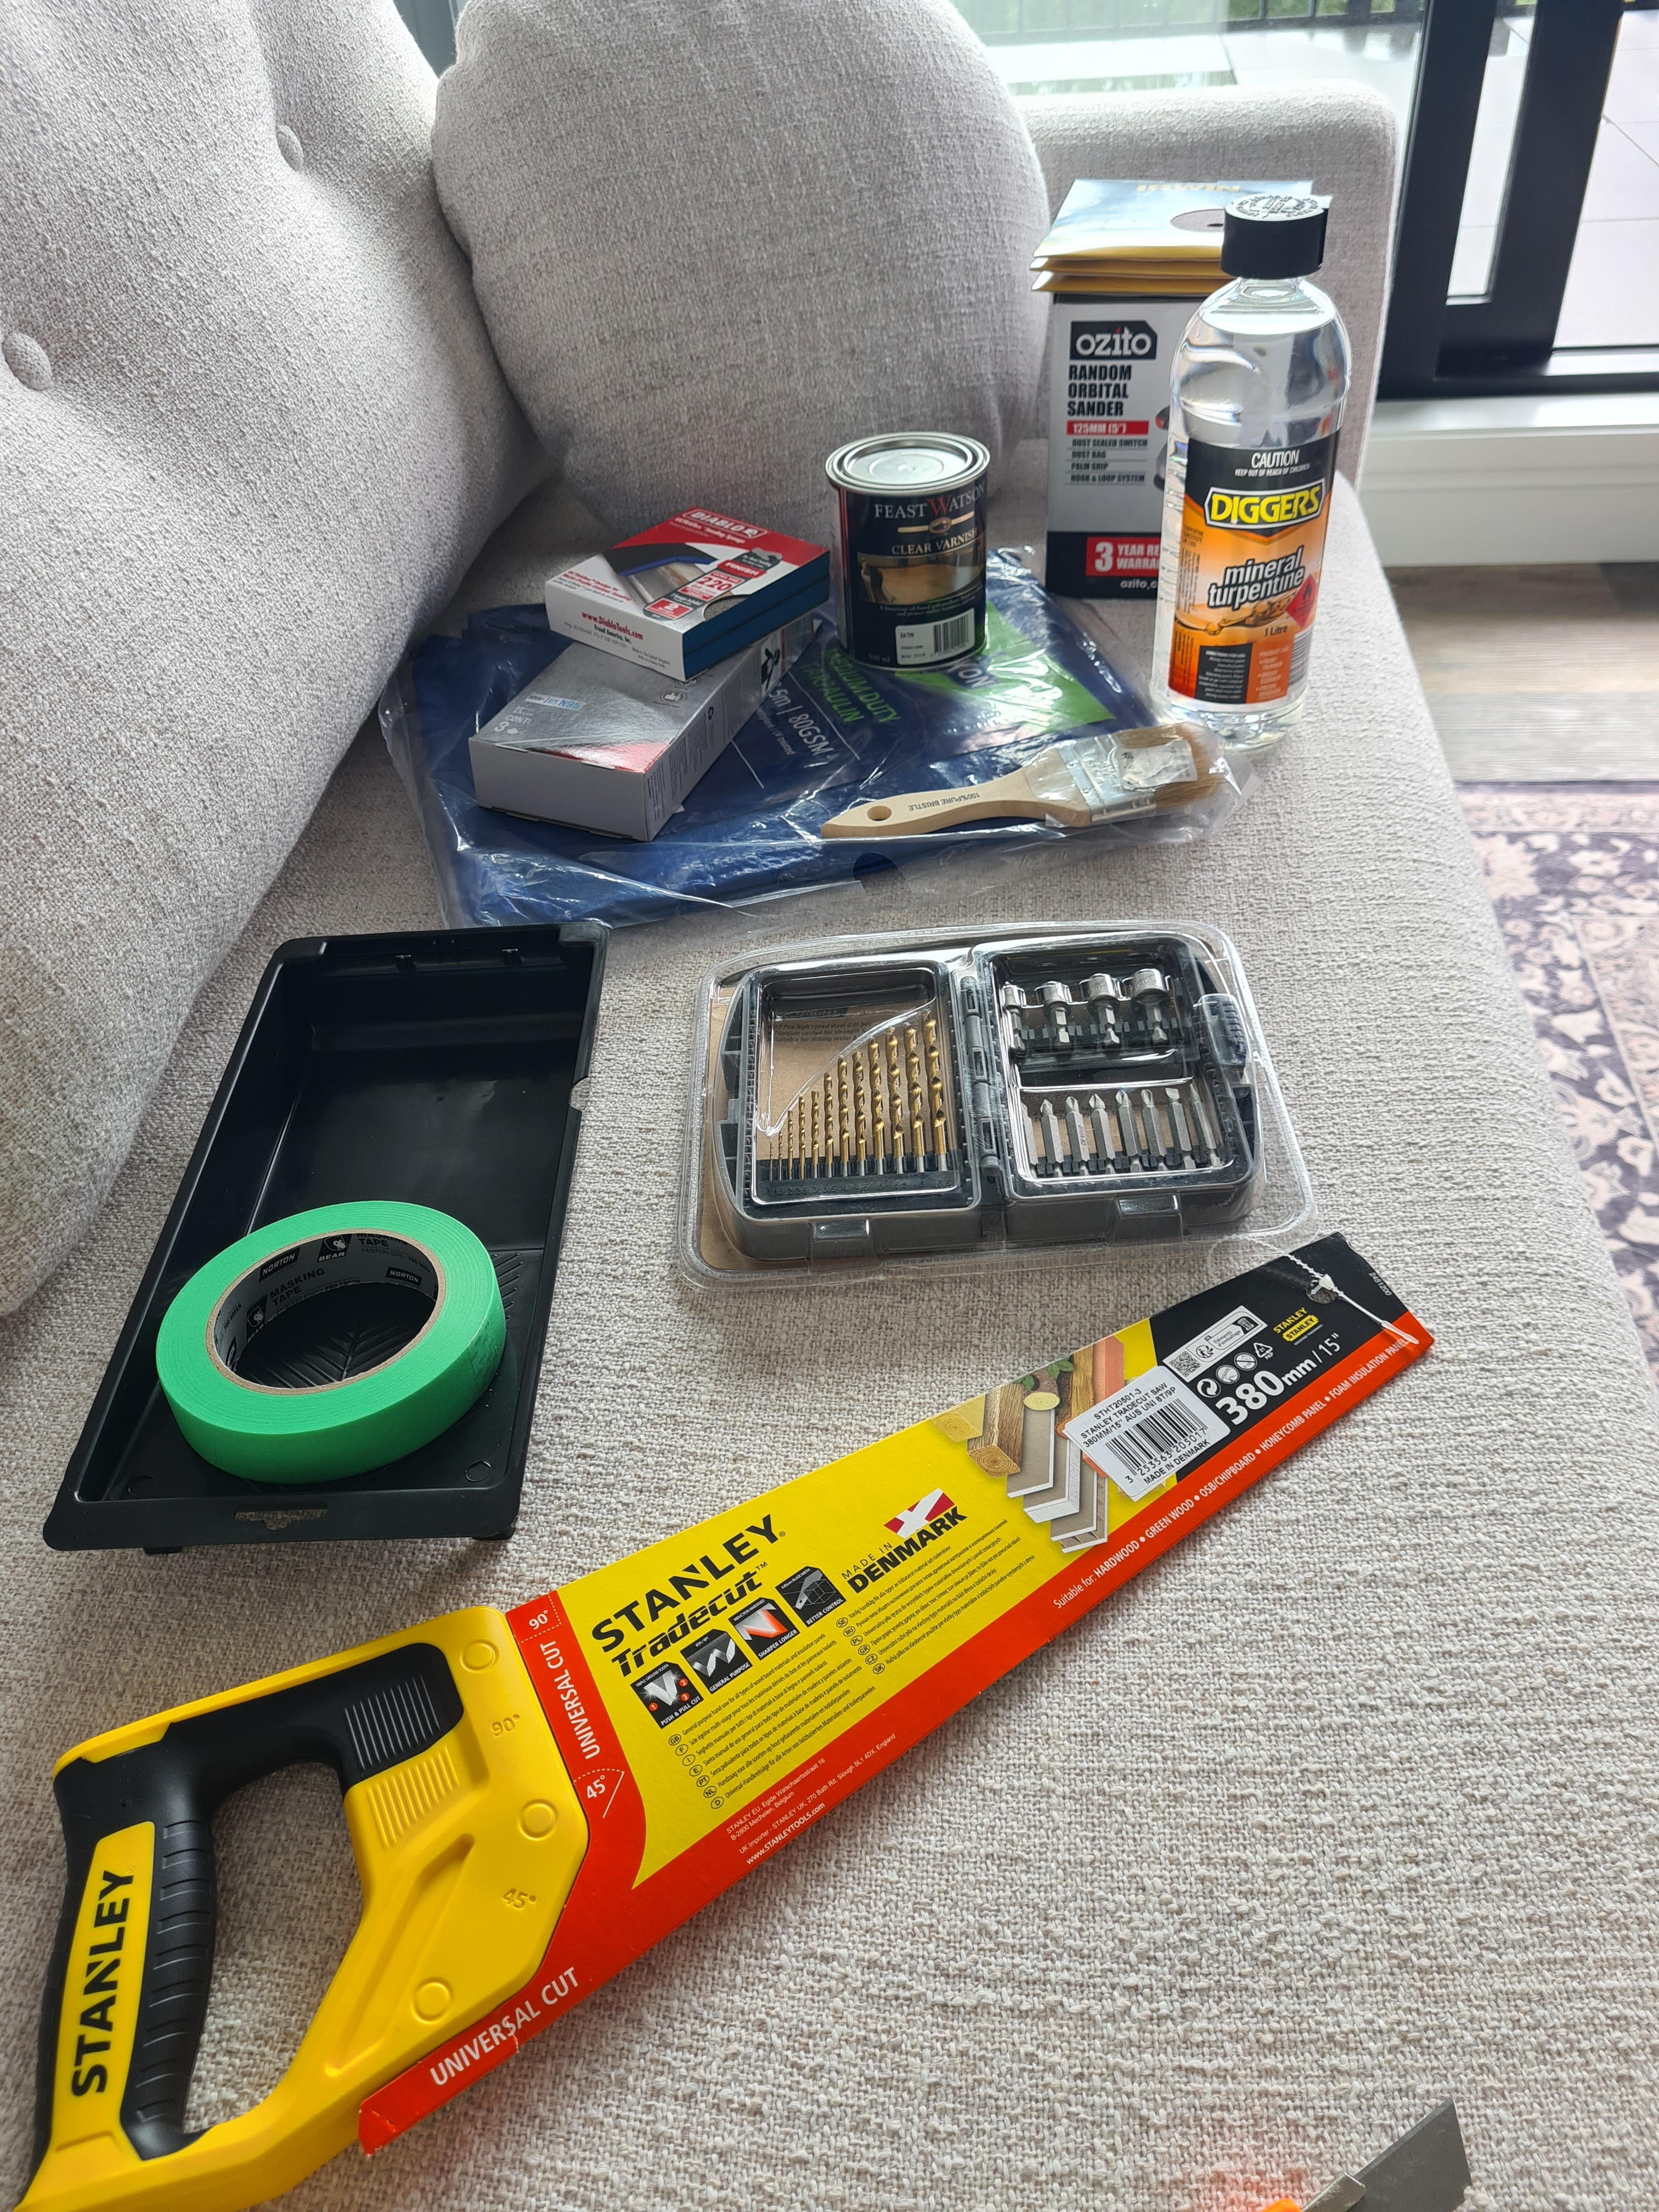
Equipment
Materials
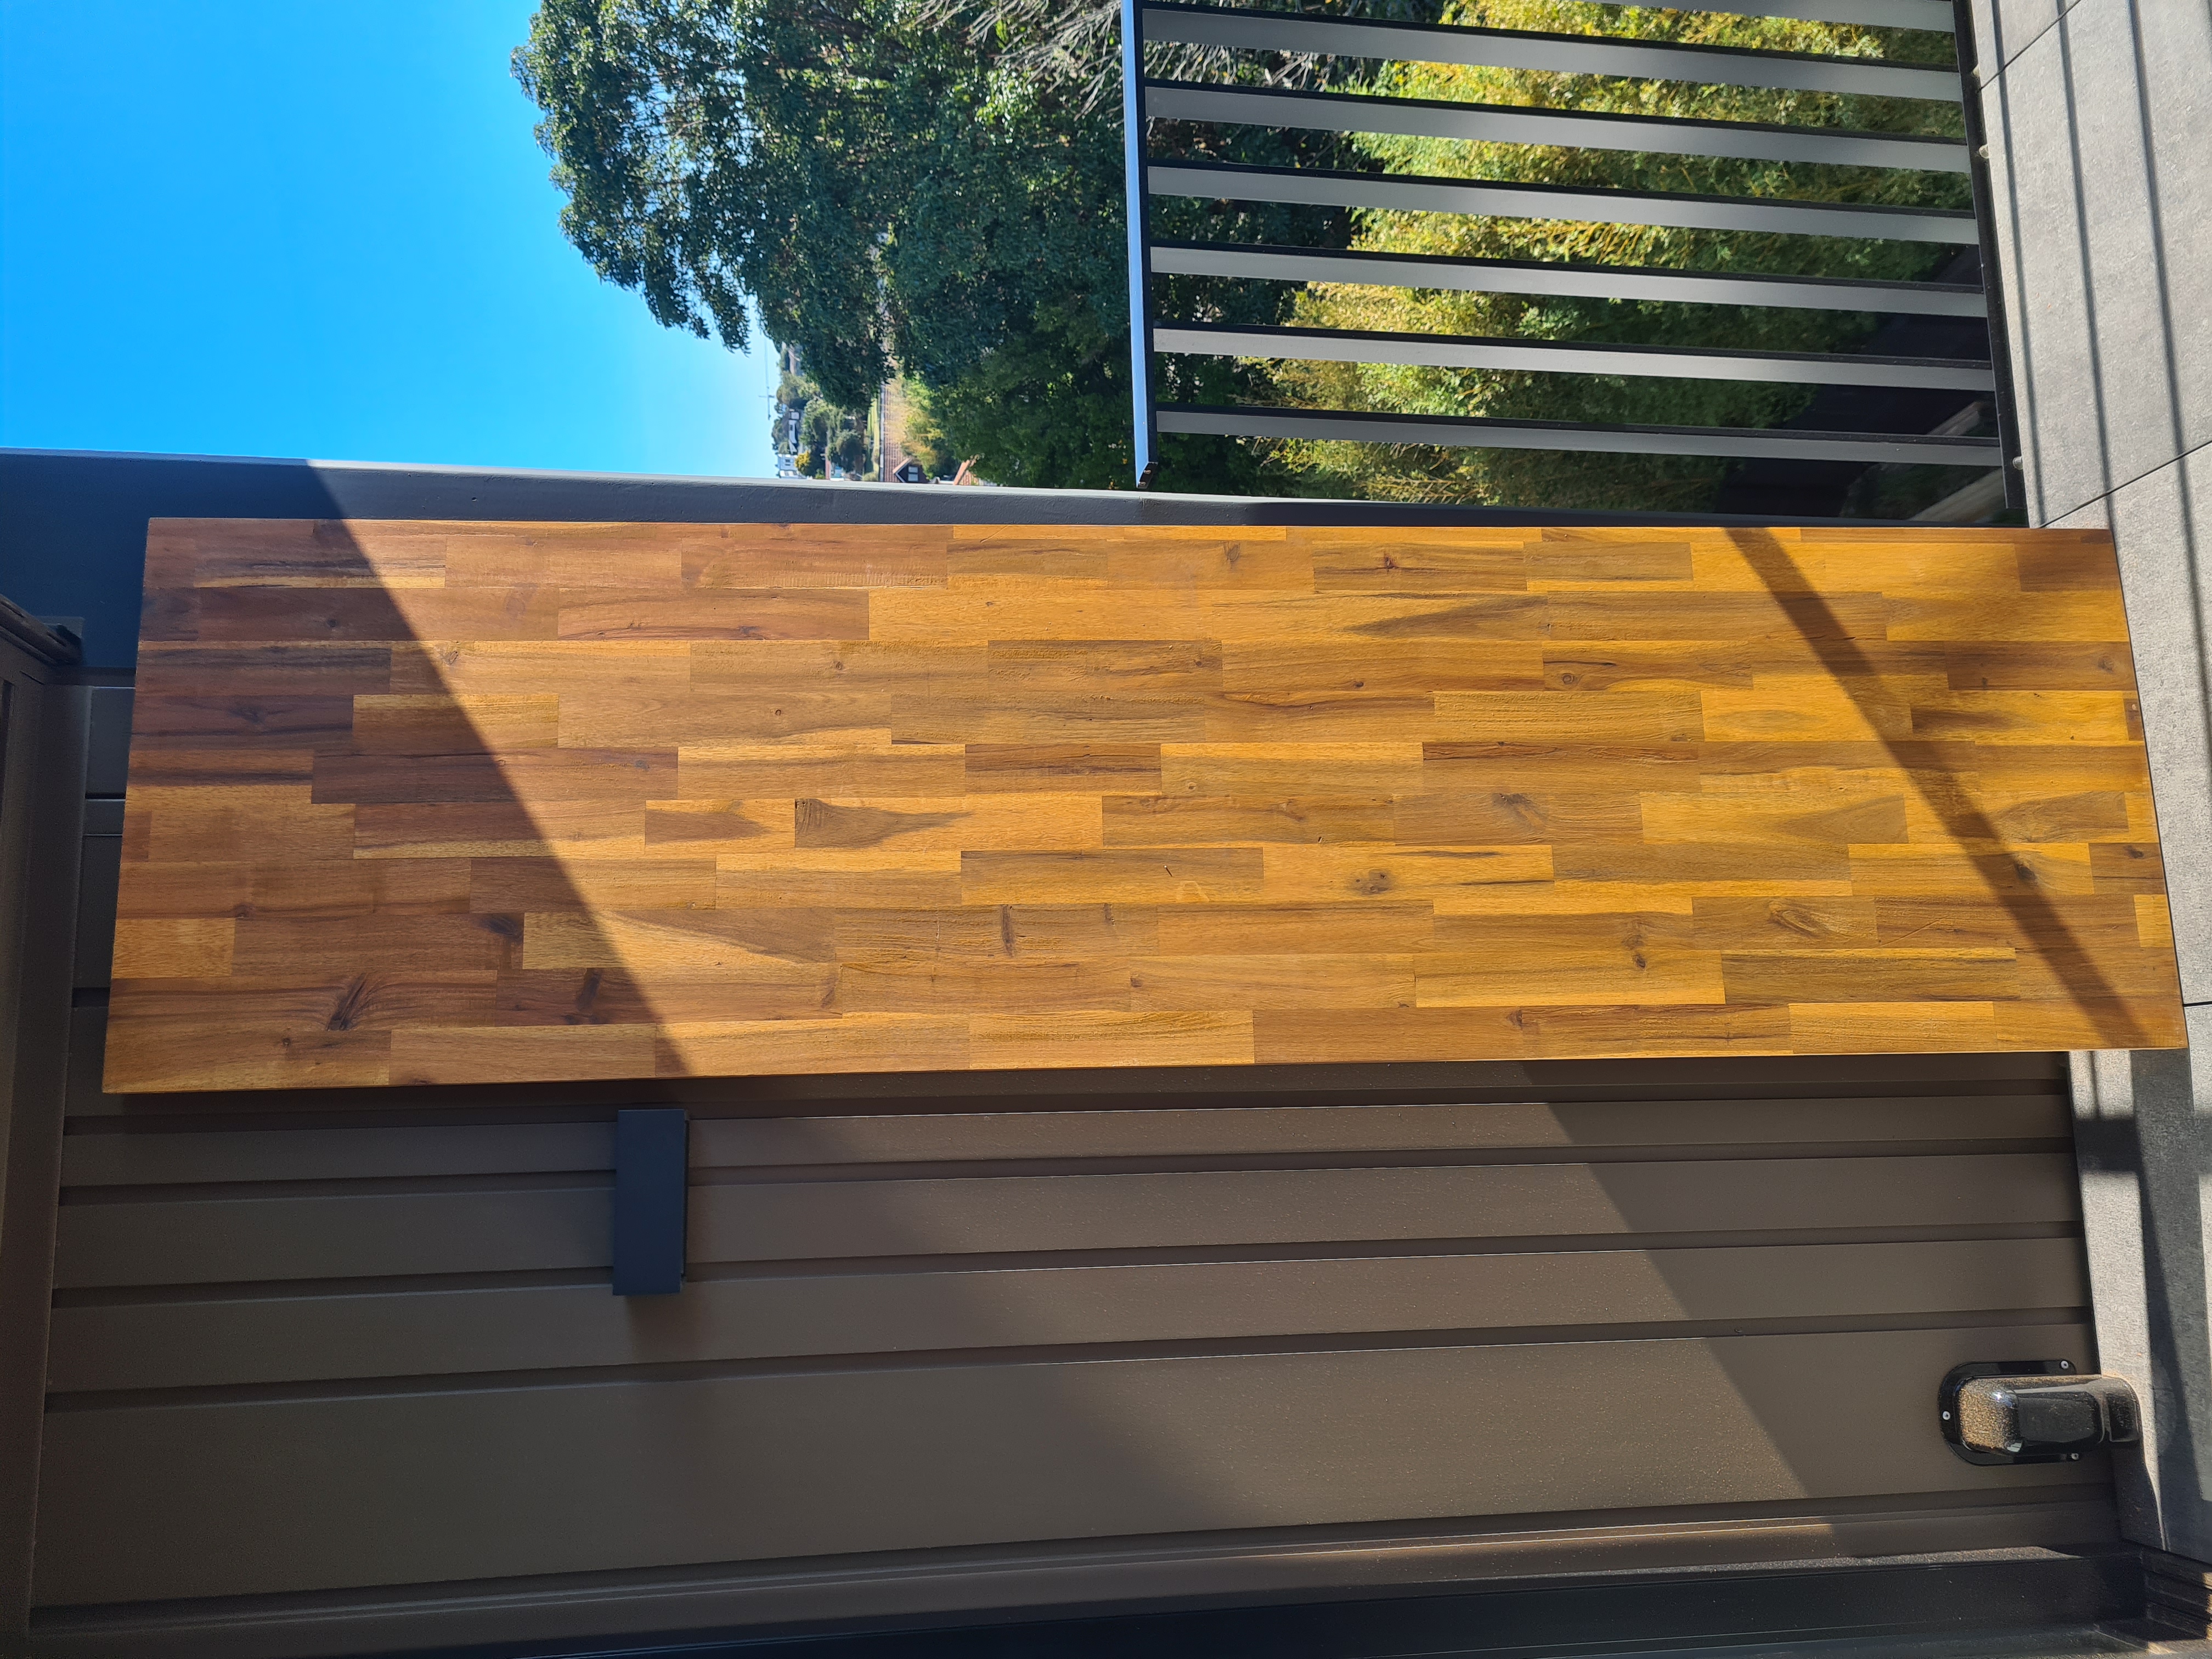
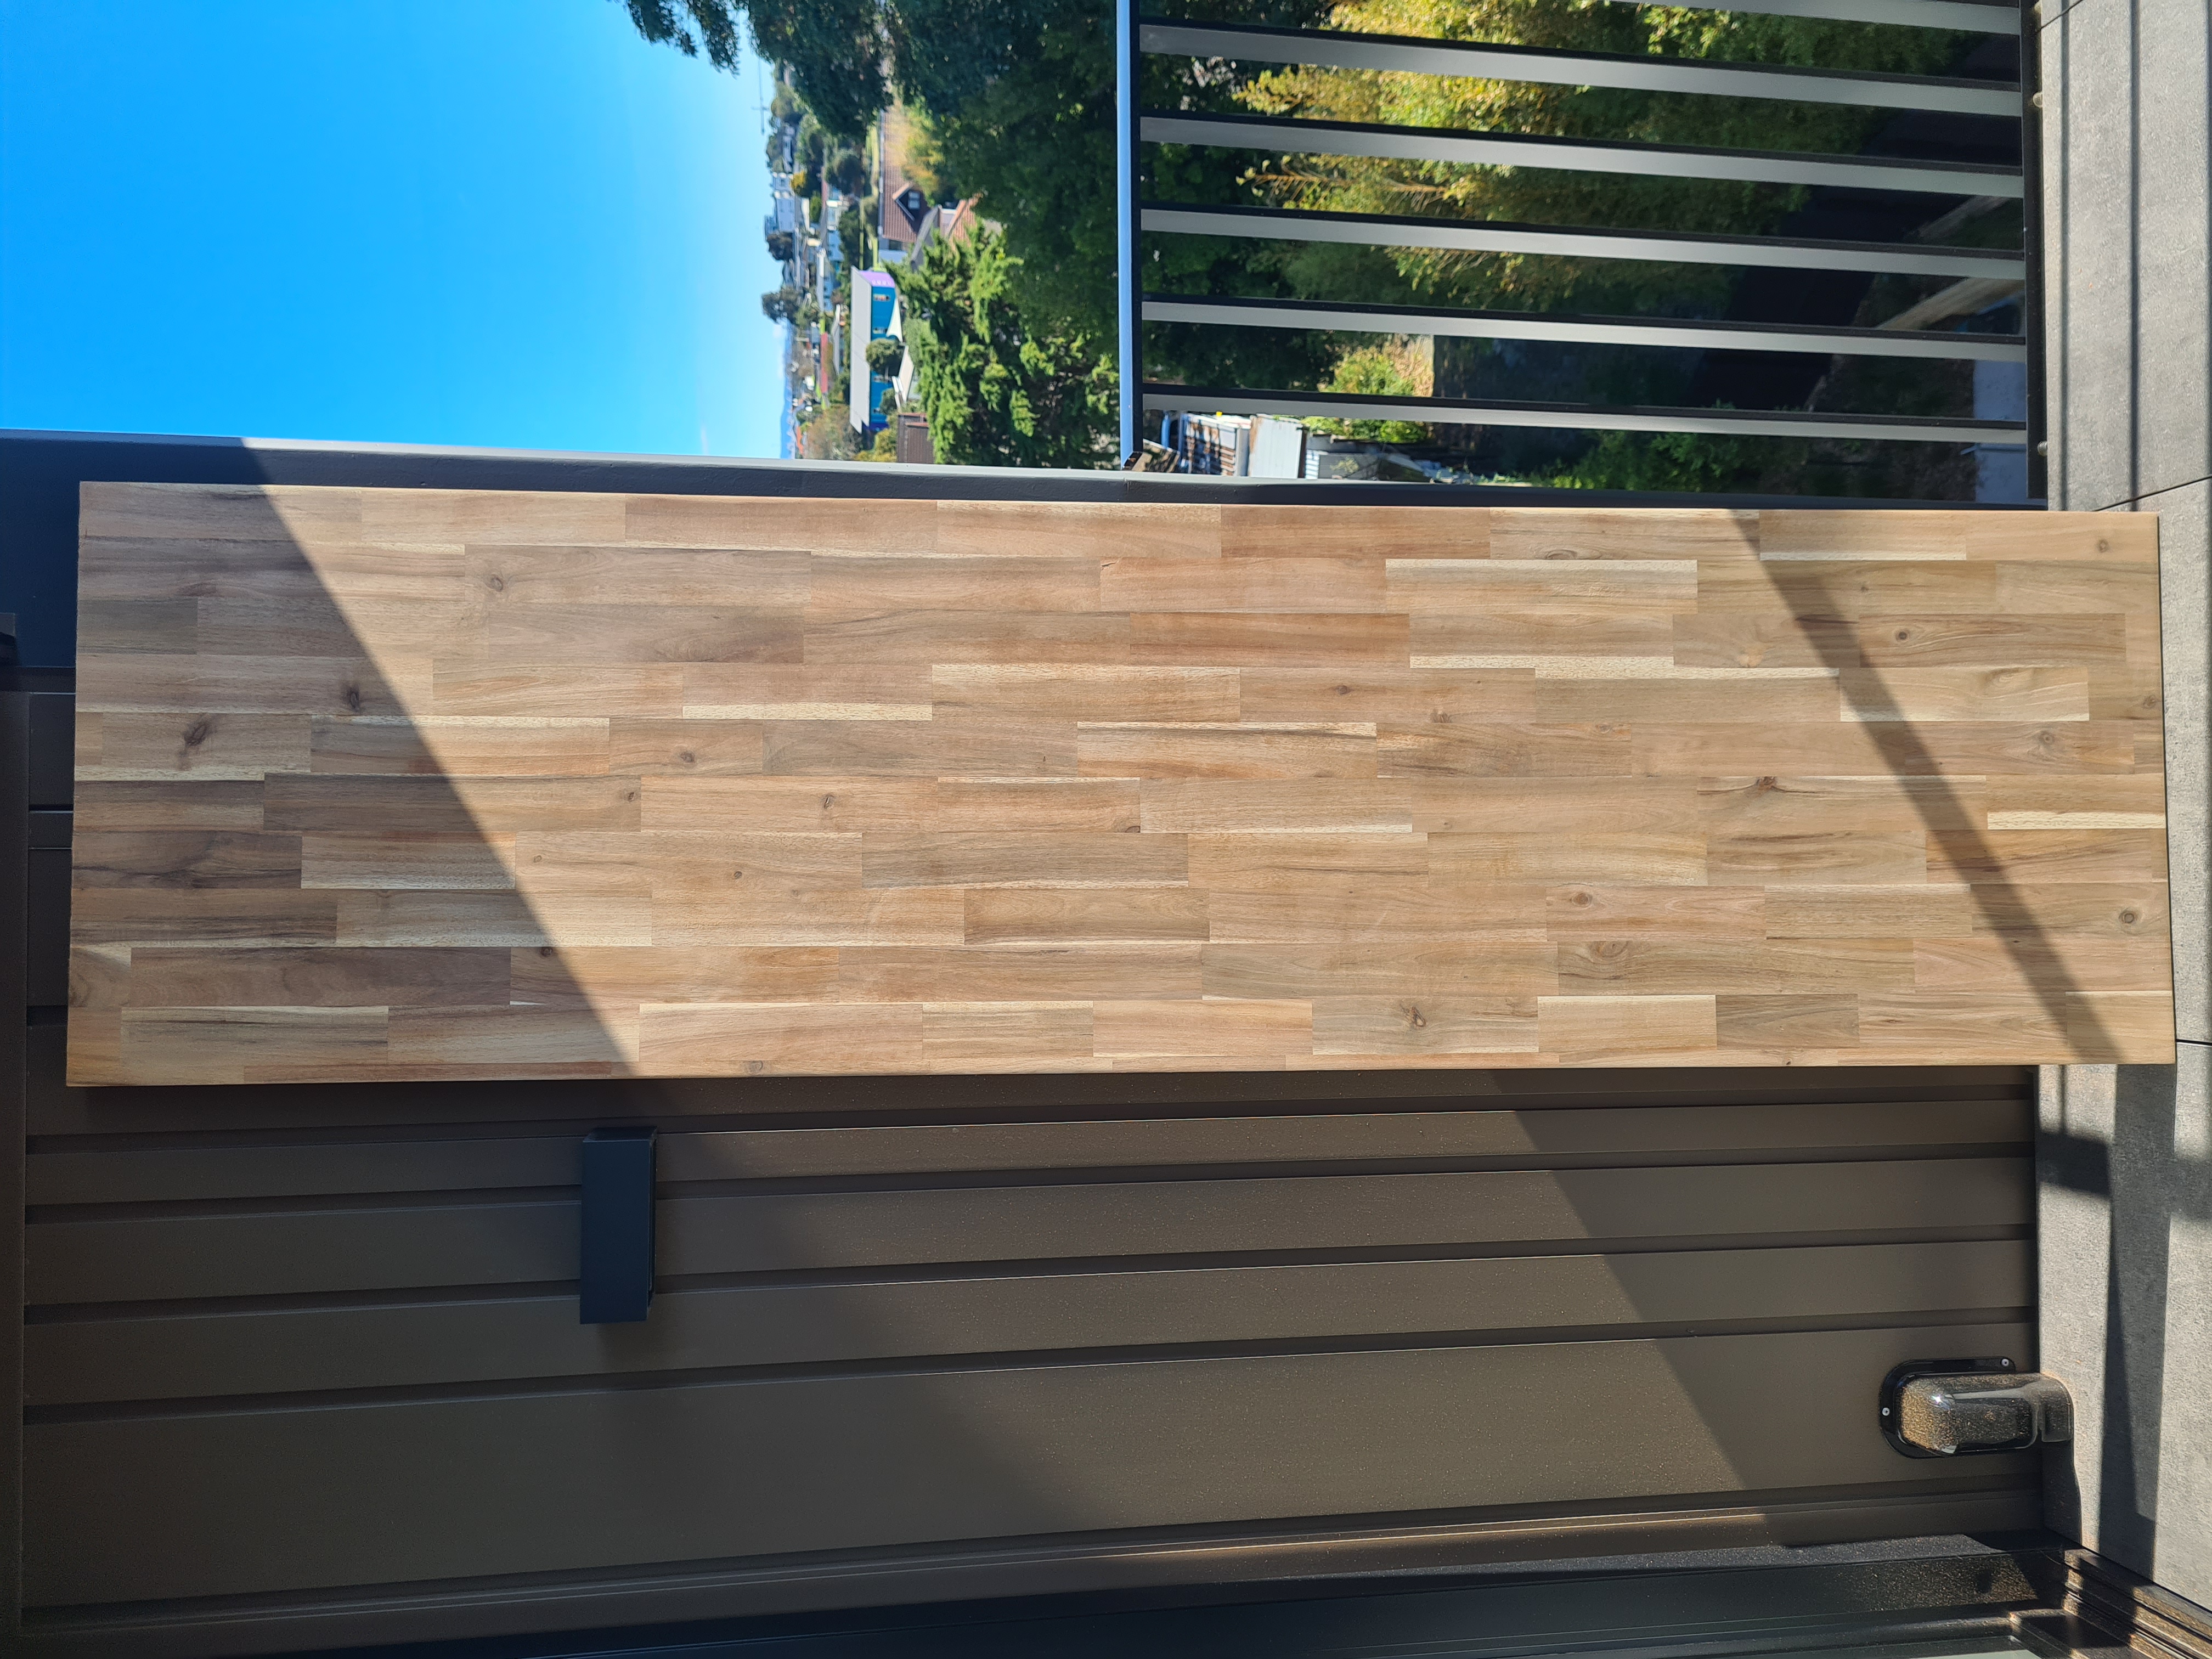
- SpecRite 2200 x 600 x 26mm Golden Teak Acacia Multi Use Panel
- Standing desk frame
- Sandpaper (various grits: 40, 80, 120, 220)
- Masking tape
- Saw
- Mineral turpentine (turps)
Tools
- Orbital sander
- Saw
- Drill, drill bits
- Tray for varnish/turps
- Paint brush
- Canvas/drop cloth
- Measuring tape
- Safety goggles and mask
Process
Place down your tarp and give the panel a wipe with the turps. Get your equipment laid out and pin down the corners in case of wind. Assemble safety gear and get sanding. I strongly recommend a good mask, especially if you are using an orbital sander as it makes a very fine powder.
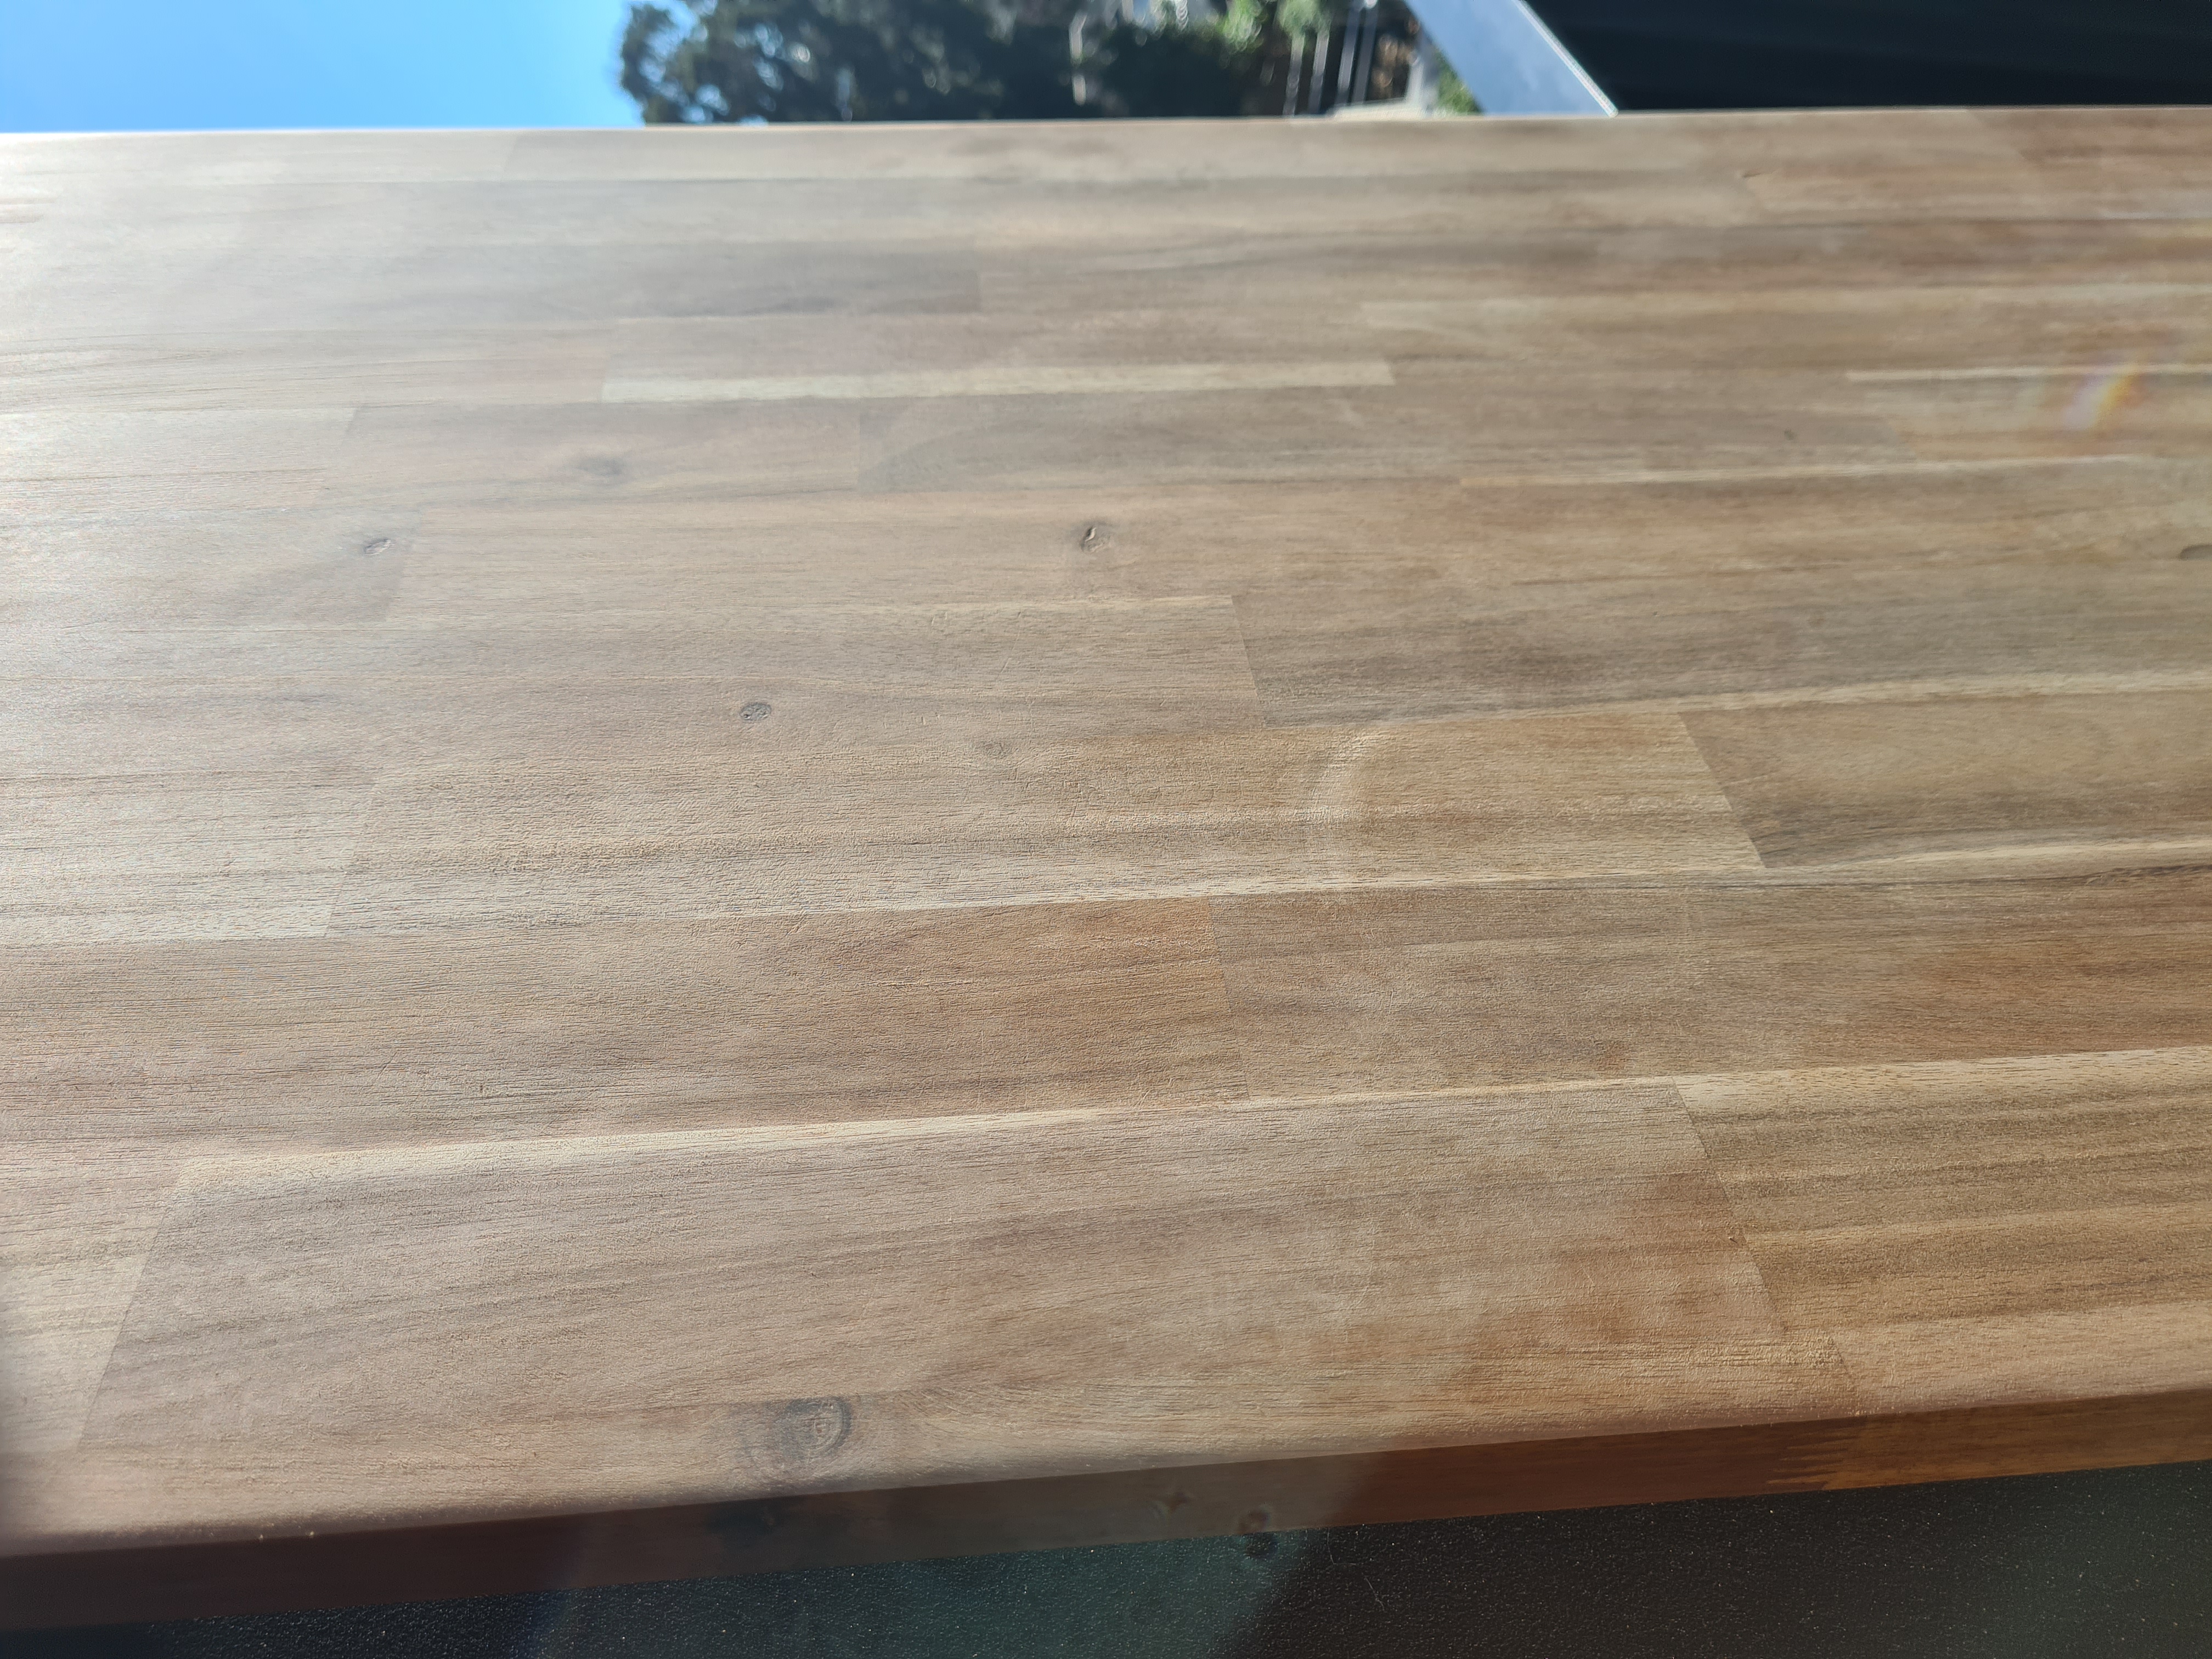
Start with your low grit and aim for a consistent finish before proceeding from a patch. After finishing the entire tabletop, give it a wipe with turps and a rag. Wait for this to dry properly before proceeding. Repeat until you've done your highest grit sand.
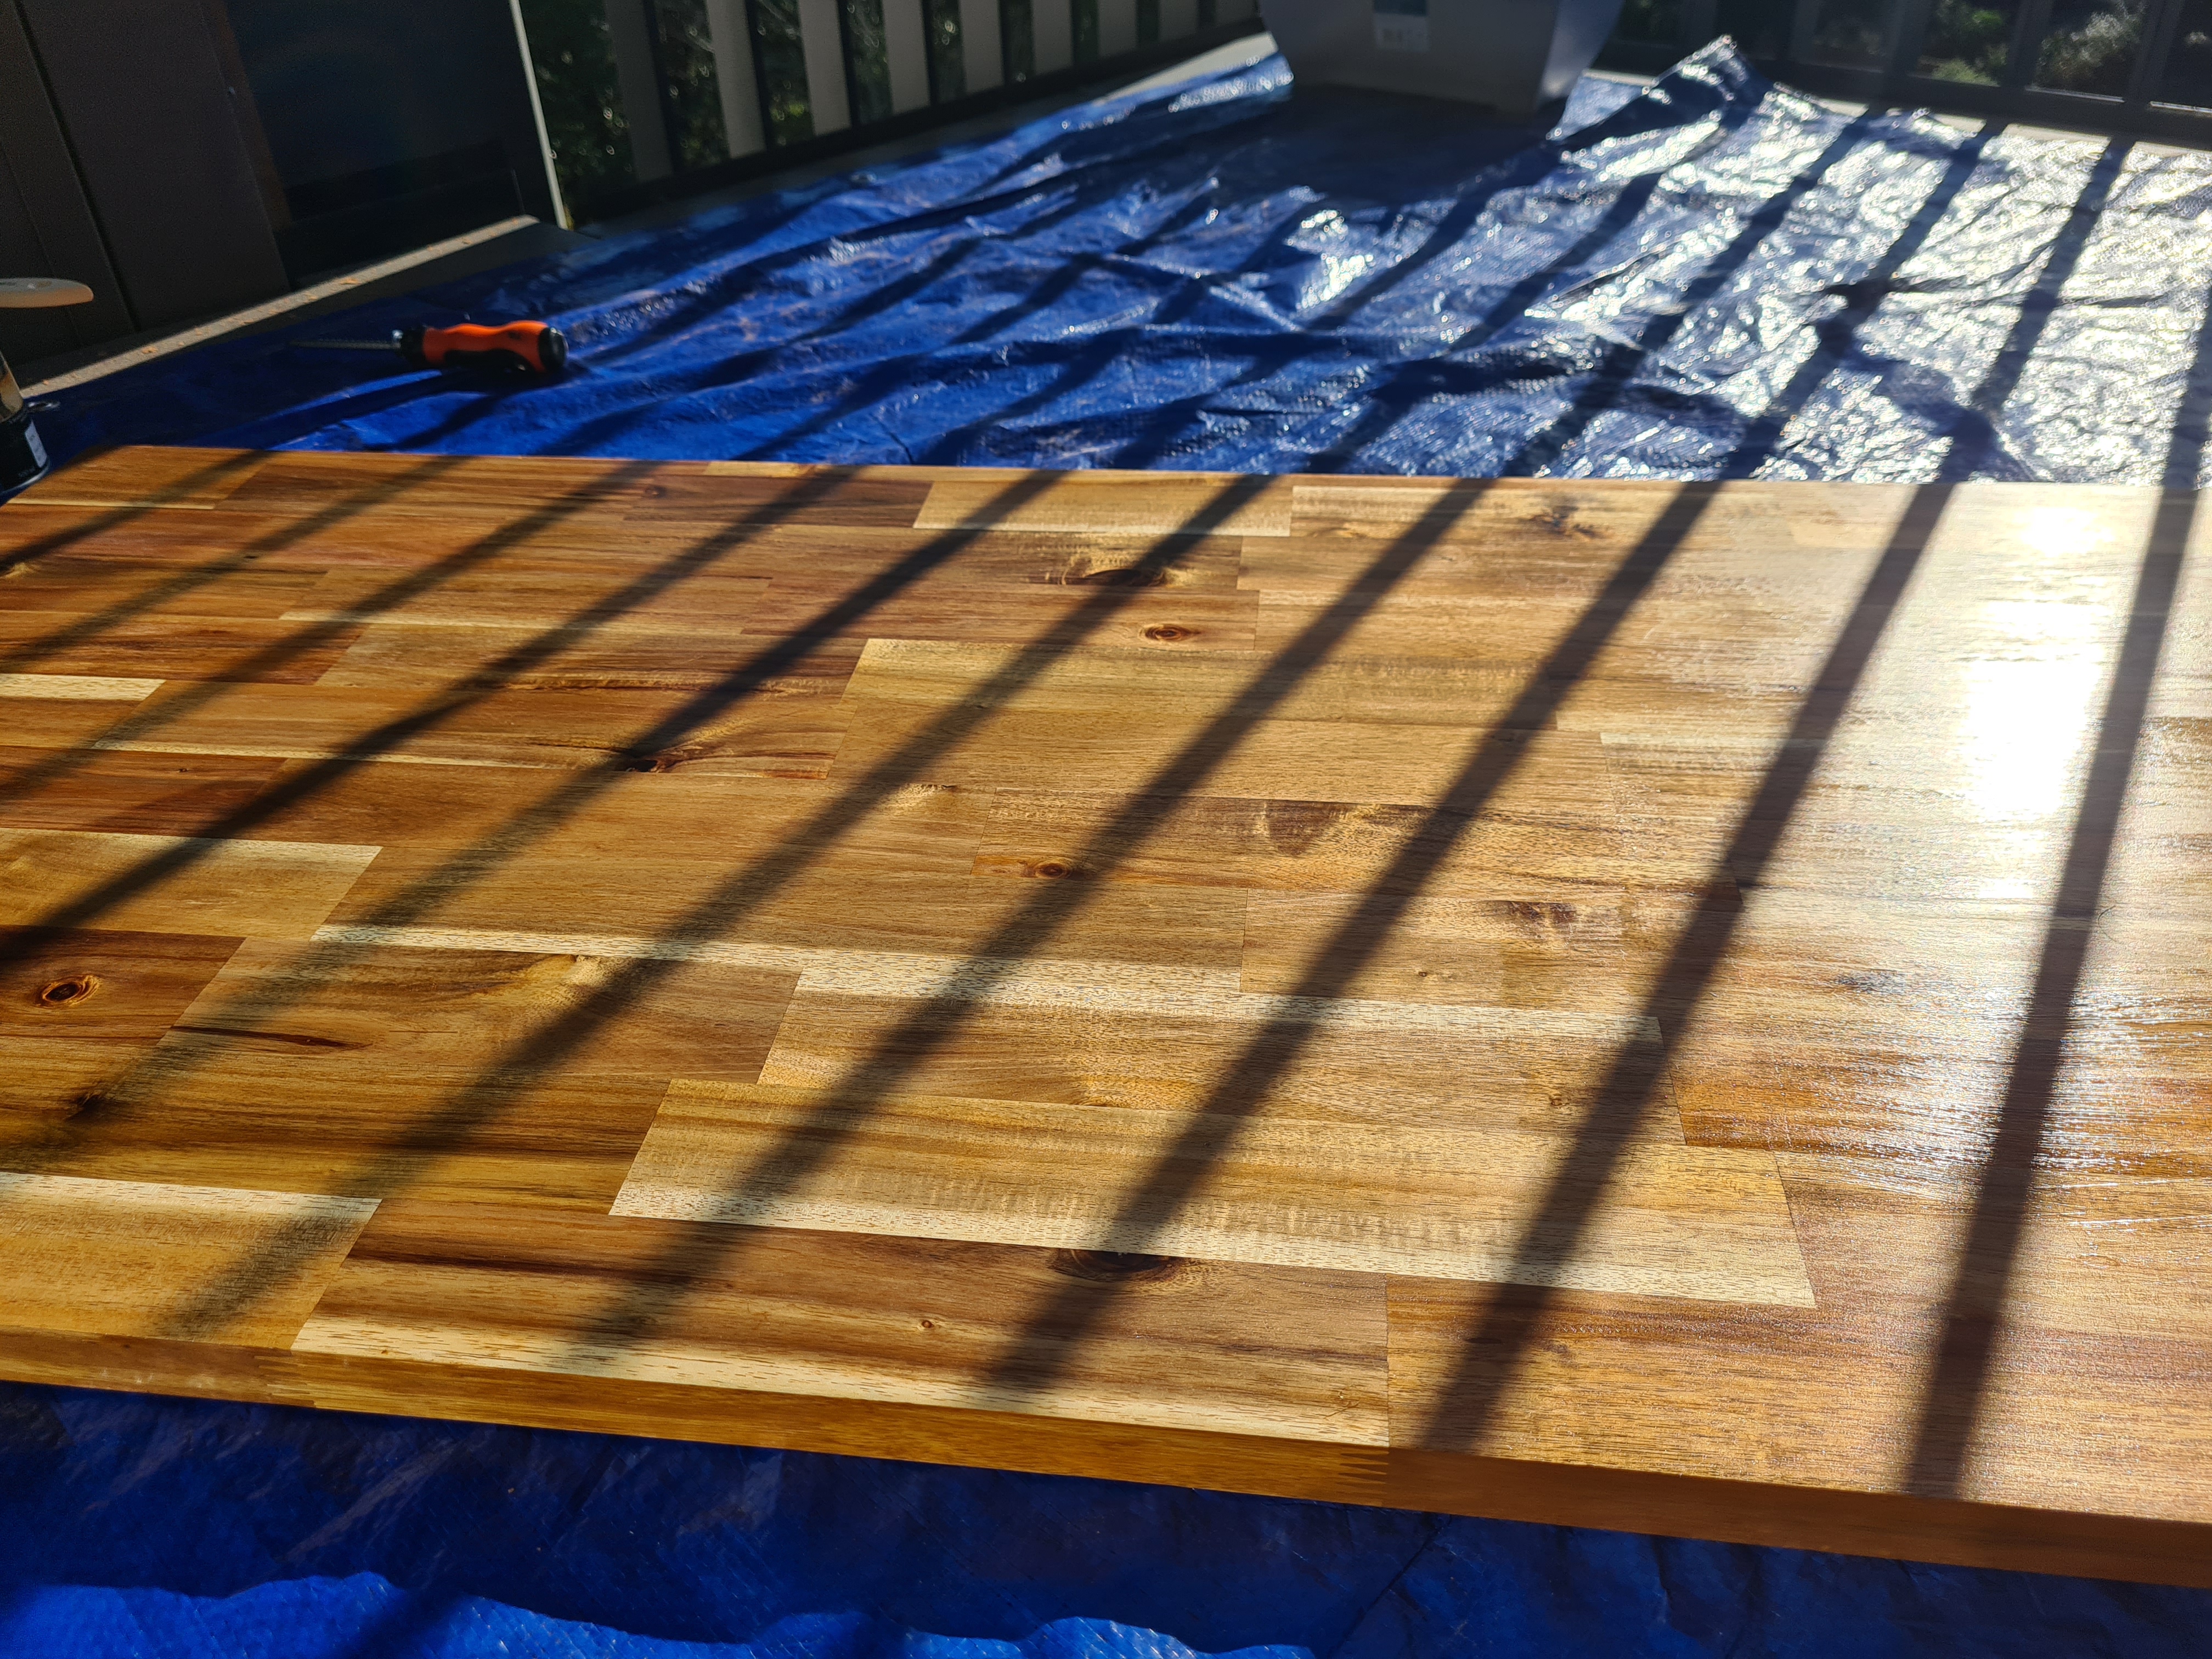
I decided to varnish the whole panel before cutting it, as I intended to do two layers of varnish. I then couldn't be bothered doing another layer, as it looked nice as is.
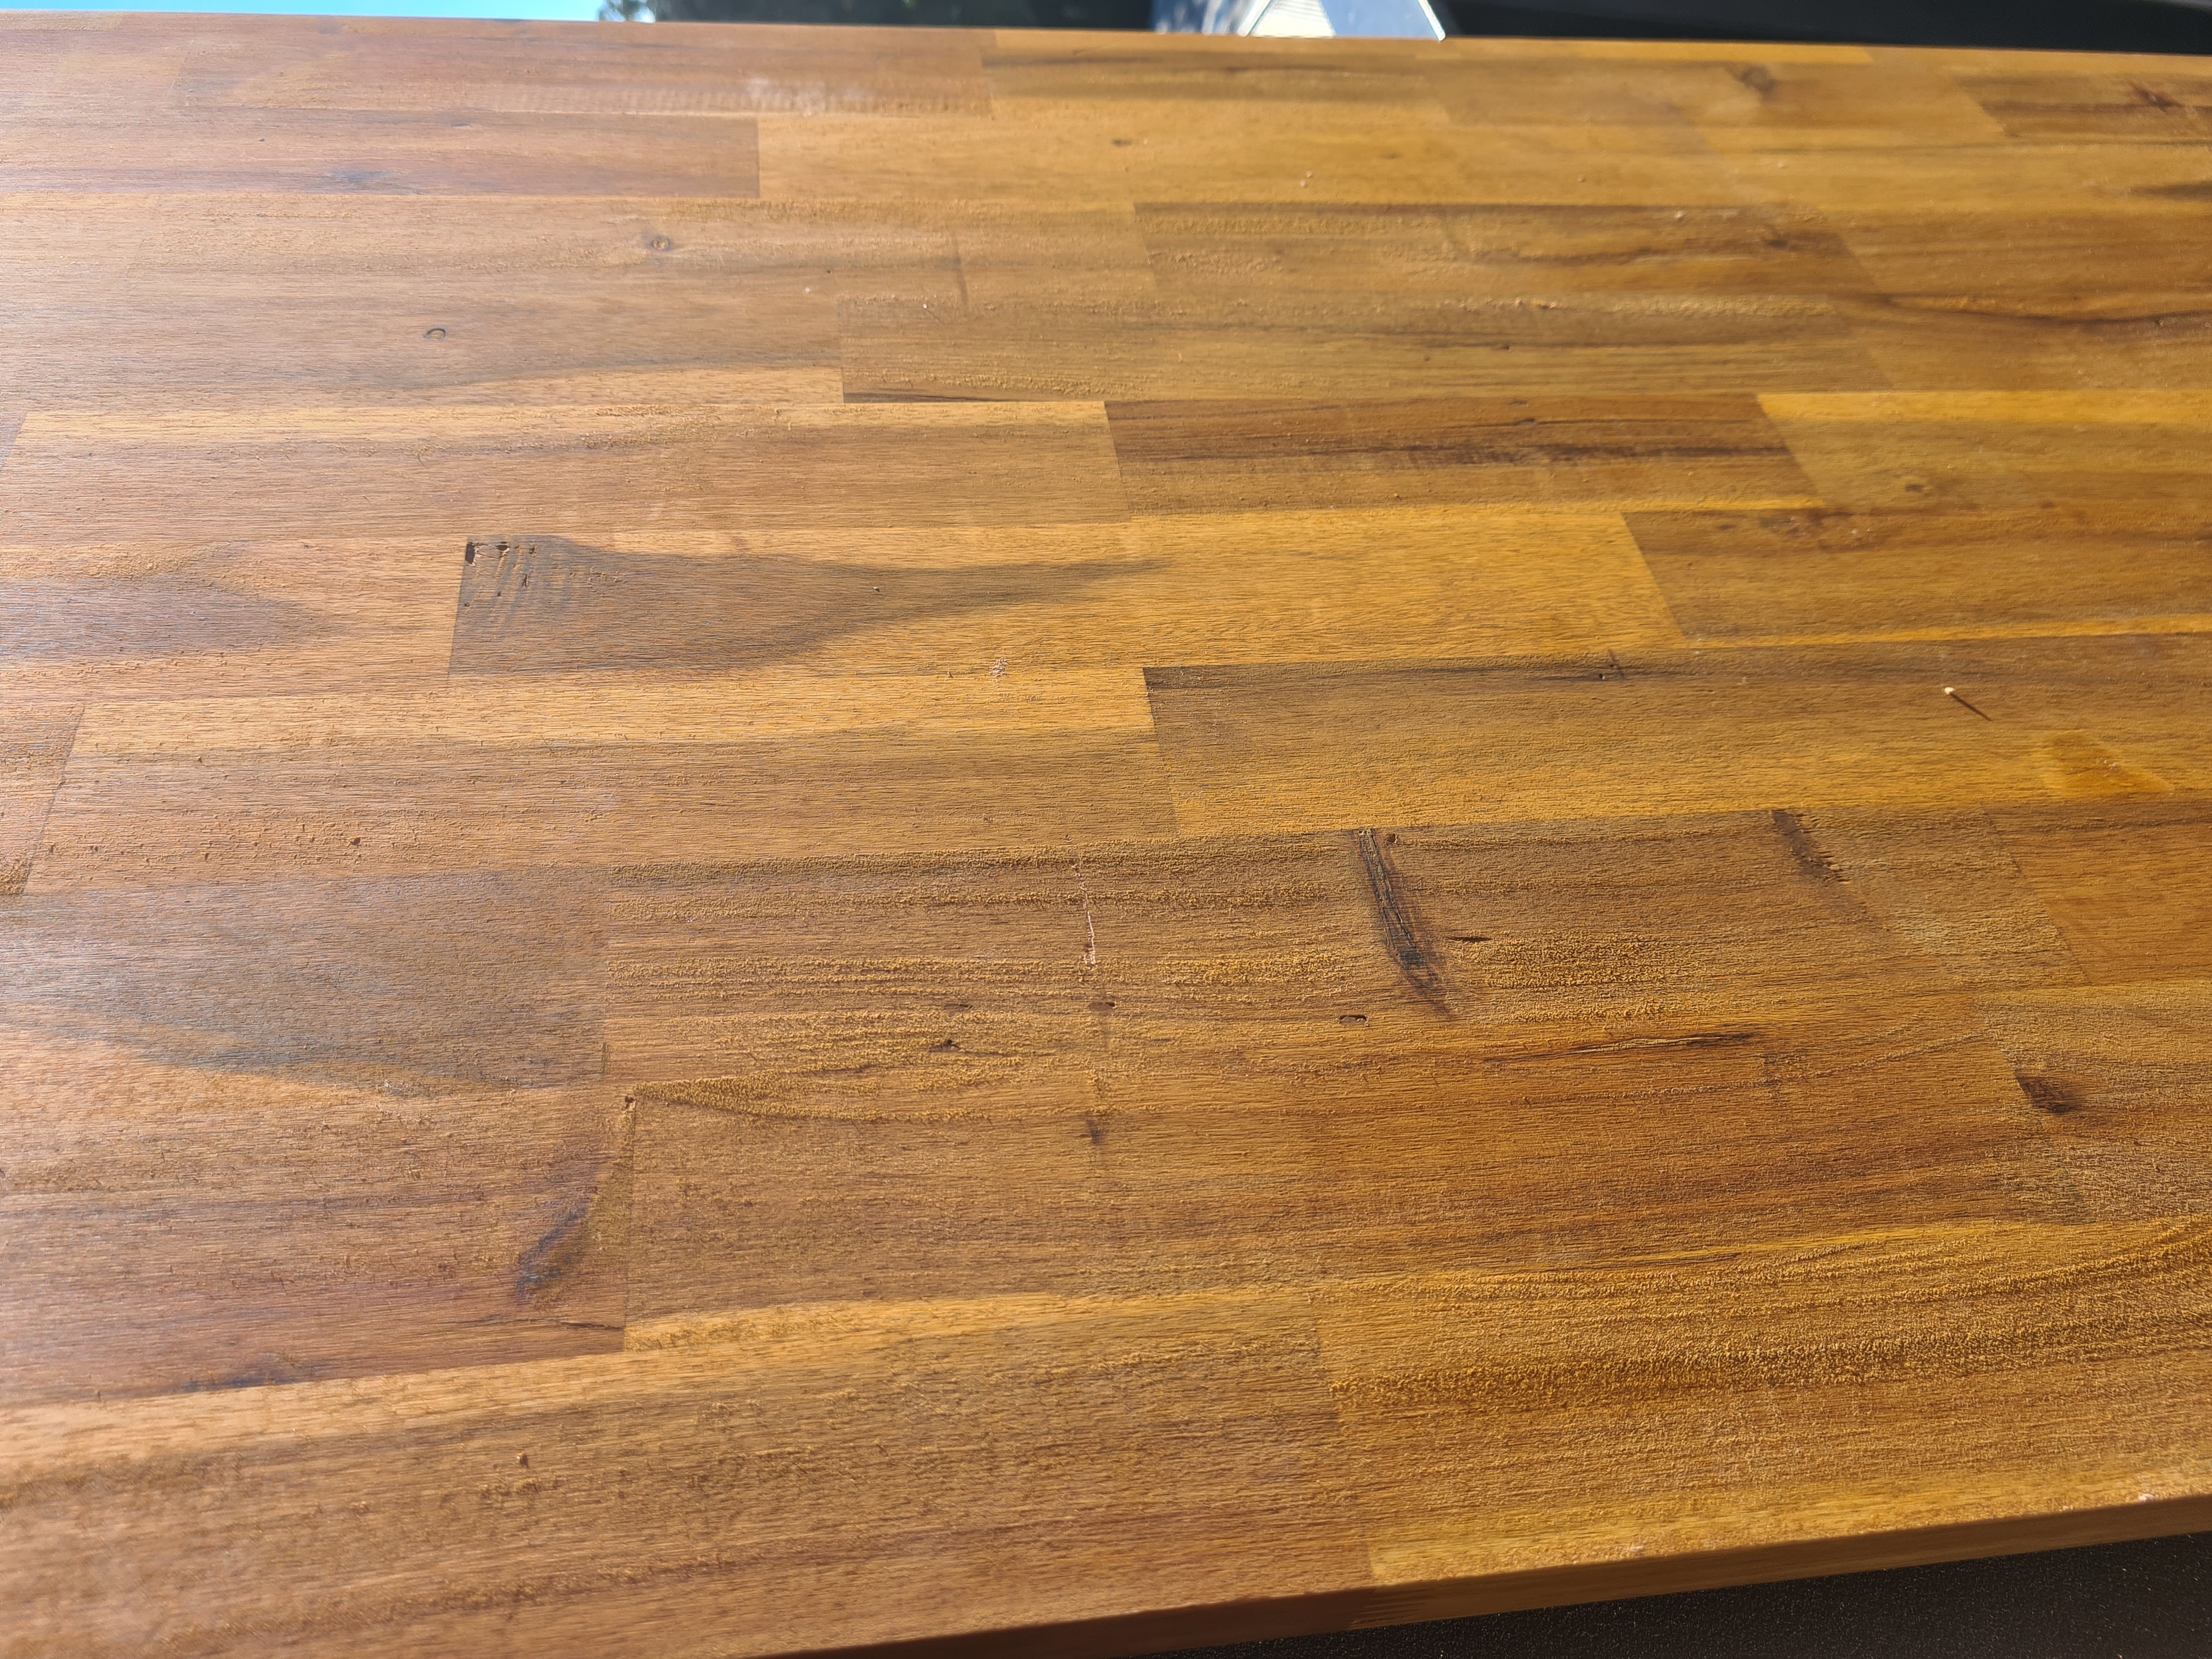
After varnishing, the hardwood really comes to life.
From here, I waited for everything to dry, then used the masking tape method outlined earlier and sanded along the edge of the tape.
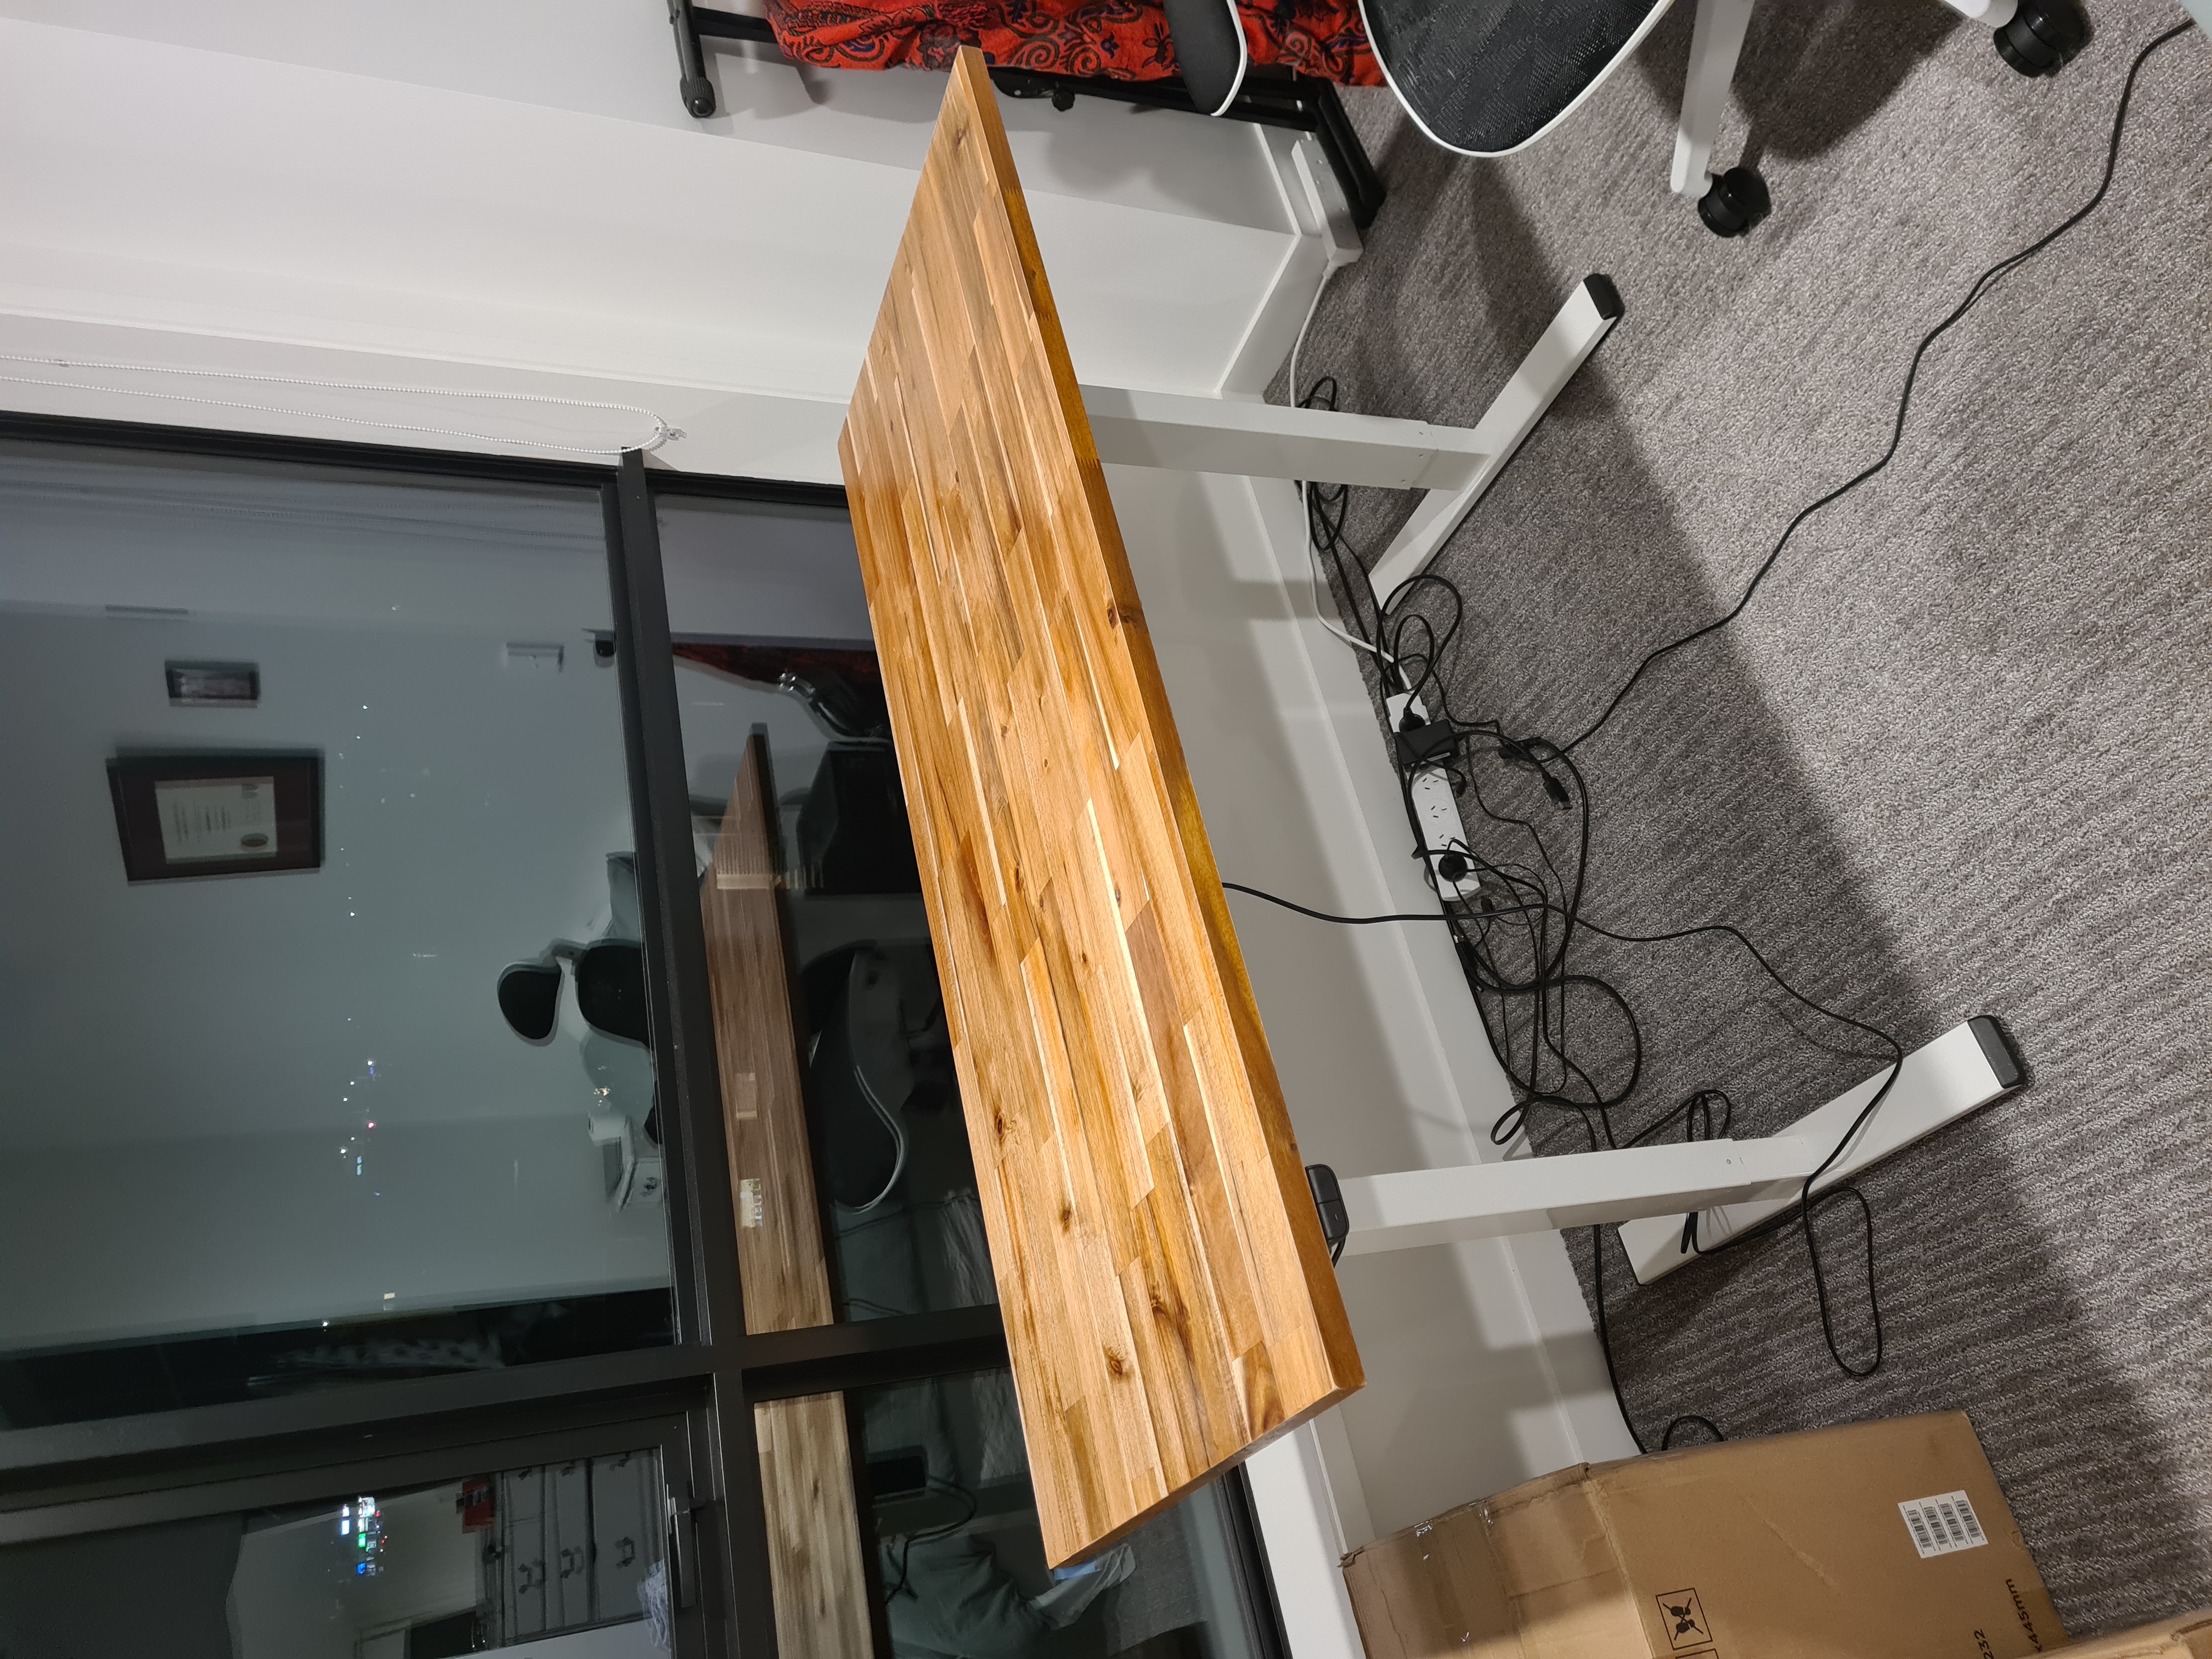
Then the final steps were to put together the desk and screw it to the tabletop. The linked legs were very simple to assemble and came together really well overall.